A Do It Yourself Haybox Tutorial
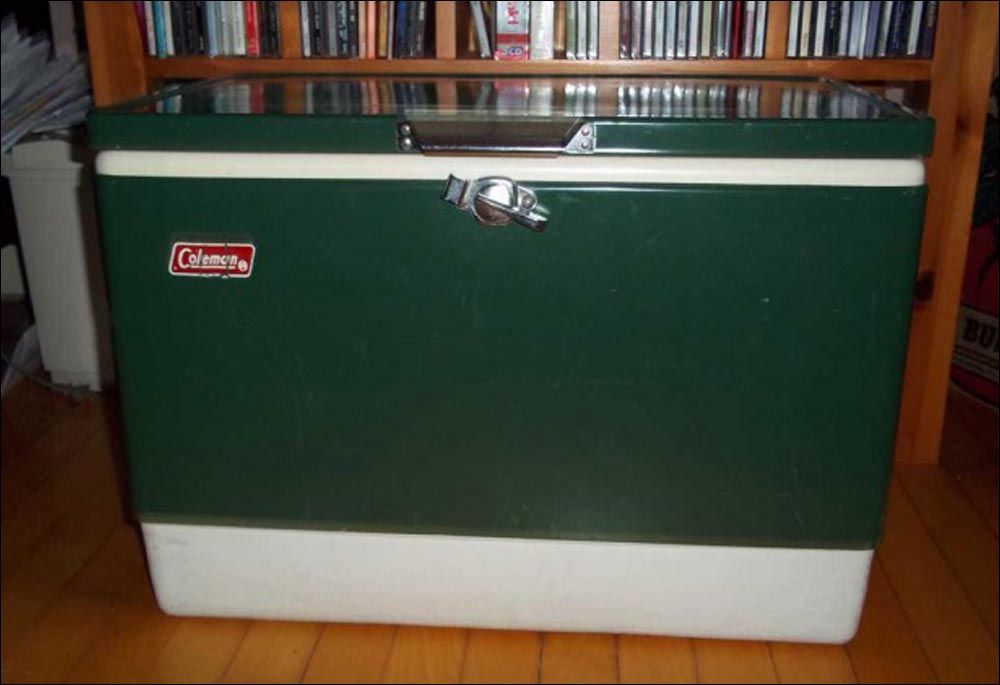
Green Wizard AT sent in this tutorial on how to turn a common plastic camping cooler into a efficient haybox substitute. Even better after you cook that killer chili, you can then remove the filling and ice down a twelve pack of beer, lol.
---
How to Make and Use a Haybox Cooker
Using a haybox cooker for slow-cooked meals saves fossil energy, human energy, time, and money. One beauty of this method of cooking is that you are free to pursue homestead or home business tasks while the food cooks. There is no danger of fire from an unattended pot, and if you have small children at home, there is no danger of their pulling hot pans off the stove. It is also a great method for slow-cooking or braising tougher pieces of meat from well-exercised, pasture-raised animals or that spare rooster. Economical dried beans and peas can be cooked until tender without babysitting the cooktop or plugging in a slow cooker.
Here’s how I made mine from materials I had at home:
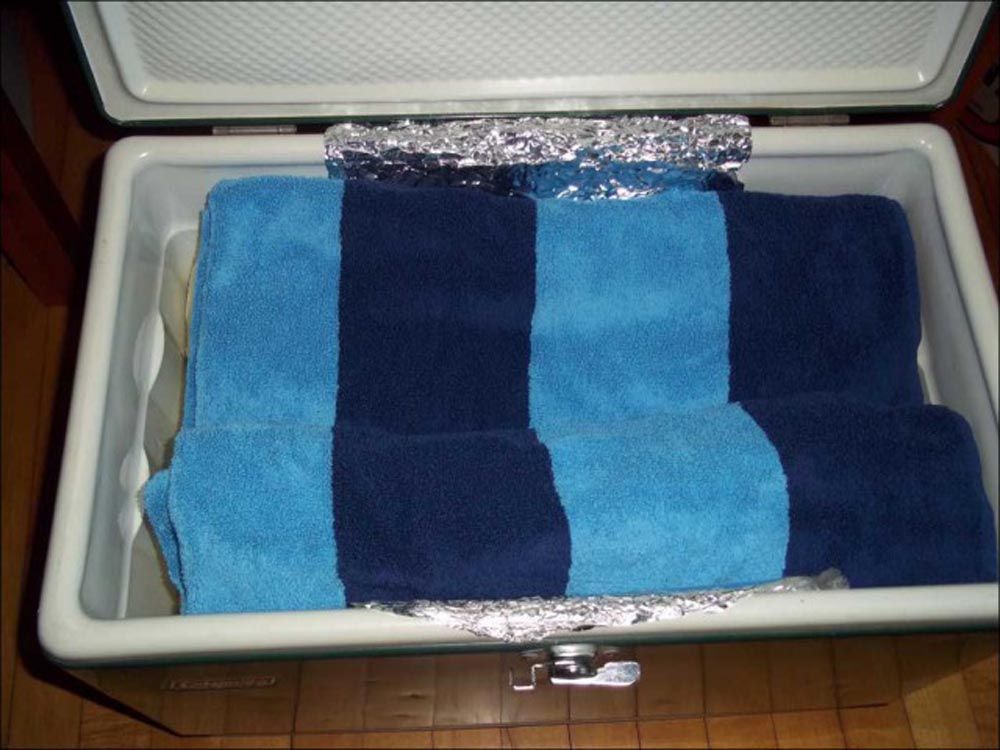
I had an old, well-insulated camping cooler that I rarely used, as well as some old ratty bath towels. The first step was to identify a stock pot that would fit into the cooler with 3-4 inches left on top. Don’t put the cart before the horse and skip this step! Many pots are too wide for a camp cooler.
Next I found an old cork hot mat (called a trivet in some locales) that was roughly the size of the pot bottom. This could be a bit bigger, but ideally not smaller. I covered this with aluminum foil to reflect heat back to the pot and centered it in the cooler. (It also protects the cooler bottom from high heat.) I also put a strip of aluminum foil on each of the long sides of the cooler, where the pot sides come close to the cooler sides, folding the edges under the edges of the lid to secure them. I then put the pot into the cooler and rolled the towels, curving them into the ends of the cooler where there was space.
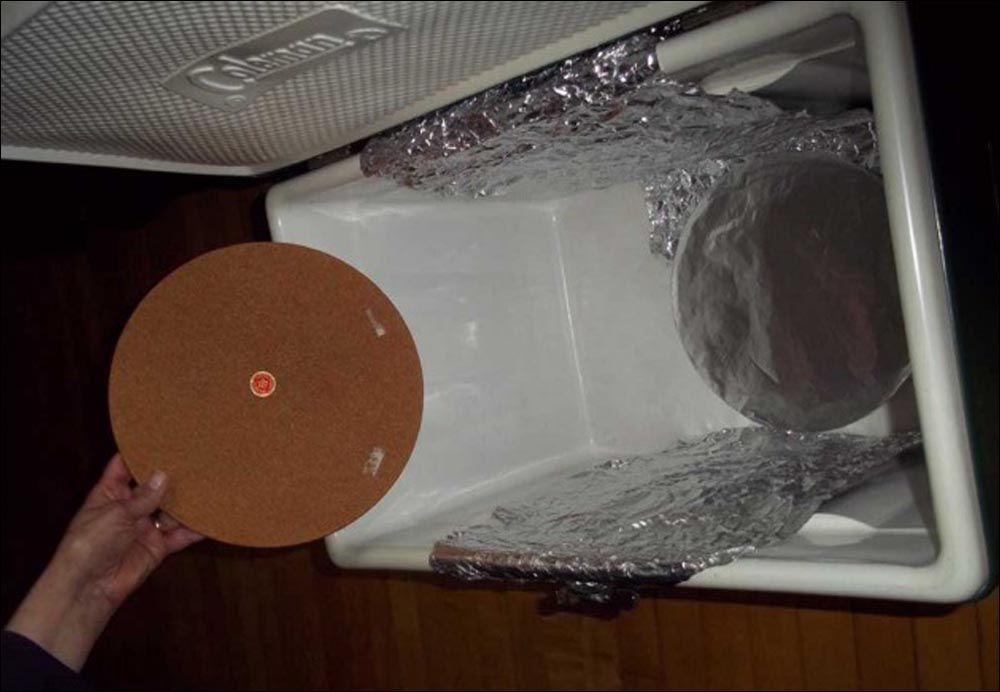
The towels don’t have to touch the pot, and it will be easier to take the pot in and out if they don’t. Just make sure that they come within an inch of the pot. If your pot is small, you could skip the extra foil and use towels or a cut up blanket on all sides of the pot.
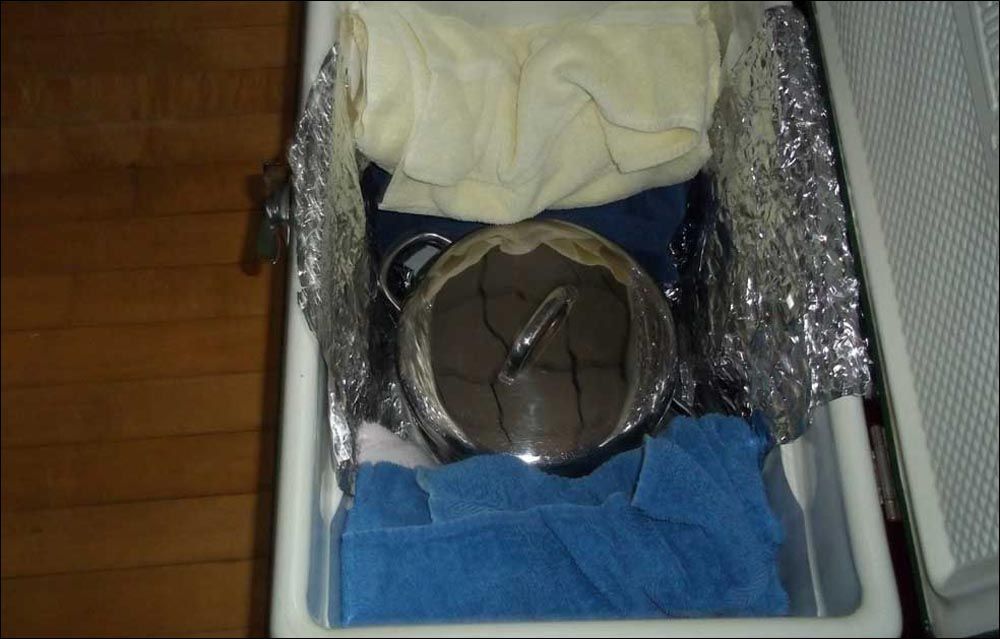
Next one needs insulation for the top, and there are several possibilities. An old pillow or cushion in a clean case will work. More towels, folded flat to fit neatly into the top of the cooler and filling the entire space up to the lid, would also work. It is important to fill the entire space with clean insulation. (This is obviously not the place for that mildewed blanket you found in the shed!) In my case, an old quilted casserole dish cover fits perfectly over the top of my pot.
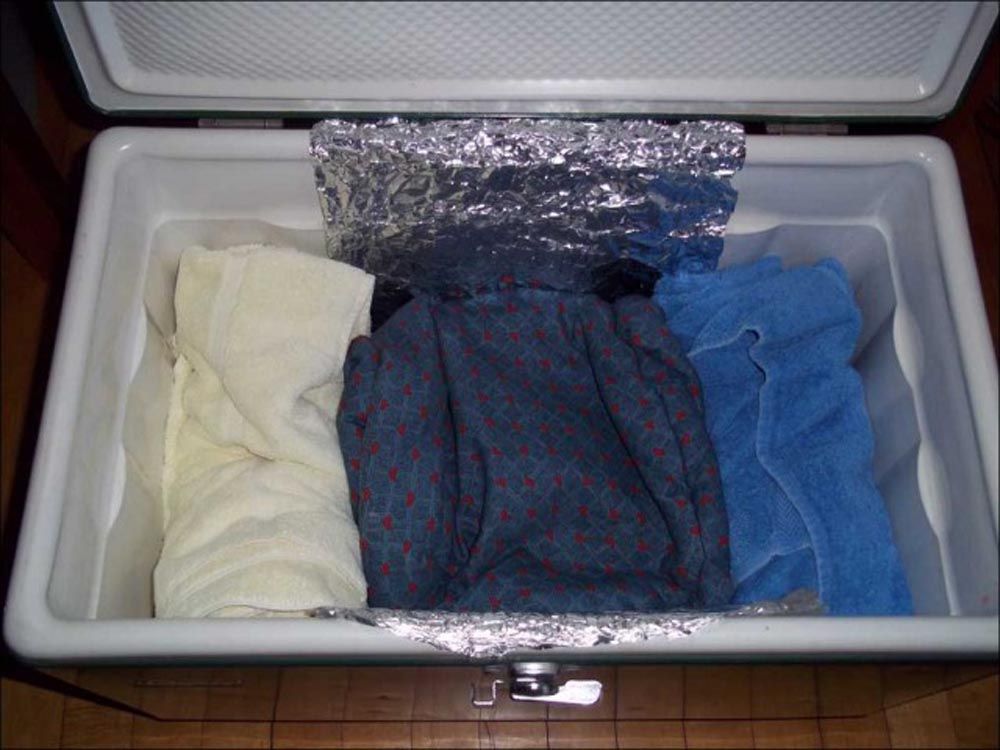
I add a folded bath towel on top of this to fill the space. Use what you have! When I need to use the cooler as an ice chest, I just pull the “guts” out and the cooler is ready for ice.
If you have access to clean hay and want an authentic hay cooking experience, a British WWII cooking guide from the Association of Teachers of Domestic Subjects gives these instructions:
"Choose a strong wooden box with a hinged lid which fastens. Line the box and lid with several layers of newspaper or brown paper, and then with thick flannel, such as an old blanket. Fasten down firmly with tacks. Pack tightly with clean, dry hay, leaving one or more nests to hold saucepans. Make a cushion of hay encased in flannel to put on the top. If hay is unobtainable crumpled newspaper packed tightly may be used as a substitute."
They caution that the pan must have no live sparks on it when removed from the fire (presumably a coal range or wood fire), and that it should be wrapped in flannel before placing it into the hay nest.
To use the haybox:
For safety’s sake, the food in the pot must be boiling hot all the way through when it goes into the haybox. Any canned low-acid foods (meats, beans, vegetables) should be boiled for 10 minutes before placing them into the cooker. I boil soaked dried beans for 20 minutes to make sure they are heated through. When I do a big pot of rice to last several days, I boil it for seven minutes. If you need to leave food in the haybox for more than 4 hours, you should remove it at 4 hours and bring it up to the boil again. It is the initial temperature of your food that gives your haybox its cooking power, and its safety, so don’t skimp on this step!
How long to leave the food in the haybox to make sure it is cooked through? This will vary from dish to dish, and will require a bit of experimentation on your part. In general, I leave soups and stews for 4 hours and a big pot of rice for two hours. Be aware that extra liquid will not cook off in a haybox (although rice, pasta, or barley will continue to absorb liquid), so if you are making a soup or stew without a lot of starch, use a bit less liquid than you would for stove-top cooking.
The haybox can also be used for yogurt making. Place 2 to 4 quart jars of warmed, cultured milk into the haybox along with two quart jars of boiling water, adjust the insulation, and leave overnight. You’ll have beautiful yogurt for breakfast. I use Kelly “Mrs. Homegrown” Coyne’s recipe at "Mrs. Homegrown"
I have not experimented with bread dough, but it seems logical that your dough will rise better on a raw day if you place it in the haybox along with a couple of jars of warm water.
In summary, as long as the insulation is clean and fills the box, and the food is hot going into the box, you will have a successful and frugal cooking experience.
Comments
Cathy McGuire
Mon, 07/04/2016 - 16:50
Permalink
Really nice how-to! I have a
Really nice how-to! I have a haybox in an old metal slowcooker sans plug, but I like the fact that you can re-use your cooler as a cooler. And it’s very sturdy and plenty large enough!